August 24, 2026
How to Crop Images for Different Uses: Website, Social Media, Passport & More
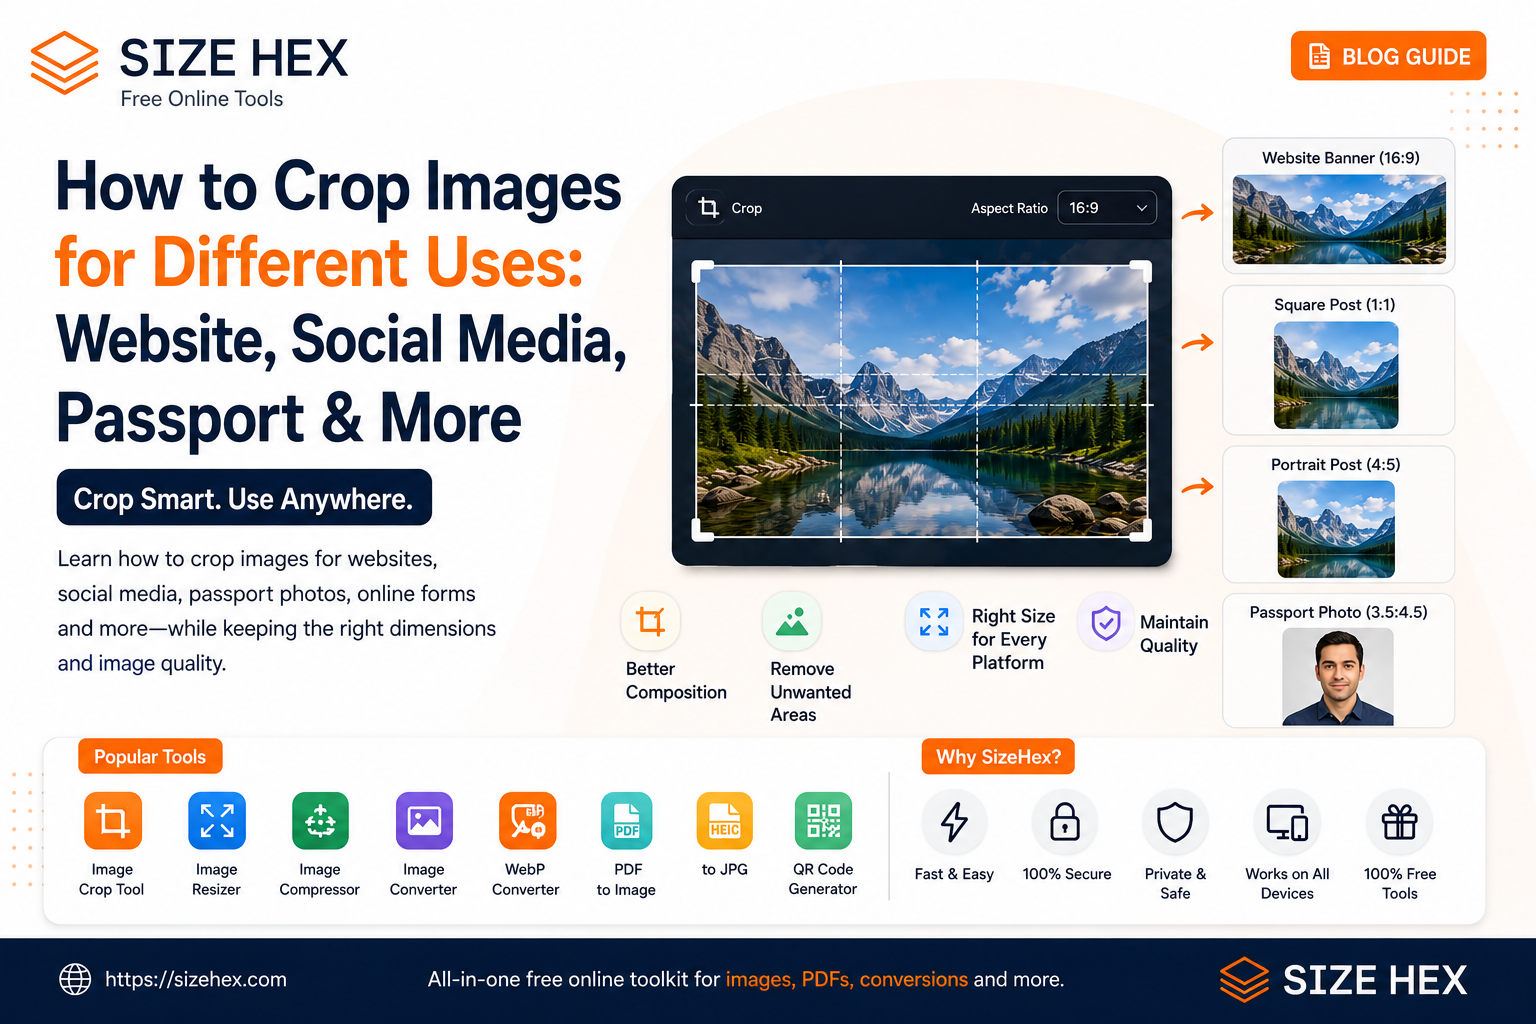
How to Crop Images for Different Uses
Cropping an image is one of the simplest ways to improve how a photo or graphic looks in a specific space.
Whether you're preparing an image for a website, social media profile, an online application, or a printed document, the original photo may not have the right composition or dimensions.
An image that looks perfect in your phone gallery may appear awkward when placed inside a website banner, social media post, profile picture, or application form.
Cropping allows you to remove unwanted areas, improve composition, and focus attention on the most important part of the image.
But cropping is not simply about dragging the edges of a picture.
The right crop depends on where the image will be used, what dimensions are required, and how much of the original image needs to be preserved.
Why Do You Need to Crop an Image?
Images are often captured with dimensions that don't match the space where they will eventually be used.
For example, a smartphone may capture a photograph in a tall portrait orientation, while a website section may require a wide landscape image.
If you place the original image directly into that space, the website may automatically crop it or display it in an awkward way.
Manually cropping the image gives you more control over the final result.
Cropping can help you:
- Remove unwanted objects or empty areas
- Focus attention on the subject
- Match required aspect ratios
- Prepare images for social media
- Create profile pictures
- Prepare photos for online applications
- Fit images into website layouts
- Improve the composition of a photograph
Cropping vs Resizing: What Is the Difference?
Cropping and resizing are often confused, but they perform two different jobs.
Cropping
Cropping removes part of an image.
For example, if you have a 4000 × 3000 pixel photograph and remove the unwanted edges, the resulting image may become 3000 × 3000 pixels.
The visible area changes because part of the original image has been removed.
Resizing
Resizing changes the pixel dimensions of the complete image.
For example:
3000 × 3000 pixels → 1200 × 1200 pixels
The entire image remains visible, but it is represented using fewer pixels.
For a complete explanation of image dimensions and how width and height affect website performance, see the SizeHex Image Dimensions SEO Guide.
When Should You Crop an Image?
You should consider cropping when the original composition doesn't match the intended use.
For example:
Website Images
A website hero section may require a wide image, while a sidebar may require a much smaller rectangular image.
Cropping the original photograph can help you create a composition that fits the available space without relying entirely on automatic cropping.
Social Media
Different social platforms and content types use different image shapes.
A square image, portrait image, and landscape image can require different compositions.
Cropping allows you to decide which part of the original image remains visible.
Profile Pictures
Profile images are commonly displayed inside square or circular containers.
If the subject is positioned too far to one side, cropping can help center the important part of the image.
Online Forms
Some applications require photographs to fit specific proportions or dimensions.
In these cases, you may need to crop the image first and then resize or compress it to meet the final requirements.
Product Images
For e-commerce websites, consistent image framing can make product listings look more professional.
Cropping multiple product photos to a consistent composition can help create a more uniform appearance across a catalog.
Best Ways to Crop an Image for Different Uses
Once you know where an image will be used, the next step is deciding how much of the original image to remove and what shape the final image should have.
A good crop should preserve the important subject while fitting the requirements of the destination.
Choose the Right Aspect Ratio
The aspect ratio describes the relationship between an image's width and height.
For example:
- 1:1 — Square
- 4:3 — Standard landscape
- 3:2 — Common photograph format
- 16:9 — Wide landscape
- 4:5 — Portrait-oriented format
- 9:16 — Tall vertical format
Choosing the correct aspect ratio before cropping can make the final image much easier to use.
For example, a wide website banner may work better with a landscape ratio, while a profile image may need a square crop.
How to Crop a Photo Without Cutting Out the Important Subject
The most important part of cropping is deciding what should remain visible.
Before removing anything, identify the main subject.
If you're cropping a portrait, keep the person's face and important features comfortably inside the frame.
If you're cropping a product photo, make sure the entire product remains visible unless the crop is intentionally designed to show only part of it.
If you're cropping a landscape photograph, avoid removing important elements that provide context.
A useful rule is to remove unnecessary space rather than removing important information.
Crop for Website Images
Website images can have very different requirements depending on where they appear.
A hero banner may need a wide composition, while a blog thumbnail may use a more compact rectangle.
If the original photograph is tall but the website requires a wide image, cropping can help you create a better composition before uploading it.
However, don't crop too aggressively.
The image should still communicate the intended message when viewed on smaller screens.
After cropping, you can use the SizeHex Image Resizer if you also need to create specific pixel dimensions.
Crop Images for Social Media
Social media platforms commonly display images in different aspect ratios depending on the content type.
This means a photograph that looks good in its original format may not look equally good when used as a square post, portrait post, or vertical graphic.
Instead of allowing the platform to automatically crop the image, you can prepare the crop yourself.
This gives you control over:
- Subject placement
- Visible background
- Headroom
- Composition
- Text-safe areas
Always preview the final crop before publishing.
Crop Images for Profile Pictures
Profile pictures are often displayed as squares or circles.
When preparing a profile image, keep the main subject close enough to the center that important details aren't removed when the platform applies its own circular mask.
For a person, avoid placing the face too close to the edge.
For a logo, make sure the complete logo remains visible with enough space around it.
Crop Images for Passport Photos and Online Forms
Online applications may specify a particular photo proportion or dimension.
In these situations, cropping and resizing are usually two separate steps.
First, crop the photograph to achieve the required composition or aspect ratio.
Then resize it to the required pixel dimensions.
Finally, compress the resulting image if the application also has a file-size limit.
For example:
Crop → Resize → Compress → Check File Size → Upload
This workflow can be especially useful when an online form has strict image requirements.
Crop Before Compression When Appropriate
Cropping removes parts of the original image, which can also reduce the amount of image data that needs to be processed.
If a large part of the photograph is unnecessary, cropping it first can be more efficient than compressing the entire original image.
A practical workflow is:
1. Crop unnecessary areas
2. Resize to the required dimensions
3. Choose an appropriate image format
4. Compress the final image
5. Check visual quality
If the final image is still too large, the SizeHex Image Compressor can help reduce the file size.
What Happens If You Crop Too Much?
Over-cropping can make an image look unnatural or remove important information.
Common problems include:
- Cutting off faces
- Removing important product details
- Making the subject appear too close to the edge
- Losing useful background context
- Creating an unbalanced composition
Always keep the purpose of the image in mind.
A technically correct crop isn't necessarily a visually good crop.
Keep the Original Image
Before making significant changes, keep a copy of the original image.
This is especially important for photographs that may need to be reused in different formats later.
You may need:
- A square version for a profile
- A landscape version for a website
- A portrait version for social media
- A smaller version for an online form
Keeping the original gives you the flexibility to create these different versions without repeatedly cropping an already edited image.